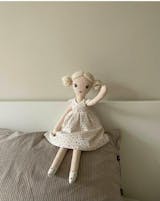
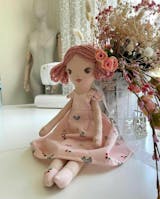
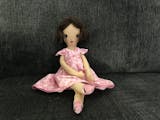
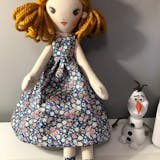
toysbypolina
PDF Doll Pattern and Tutorial
Couldn't load pickup availability
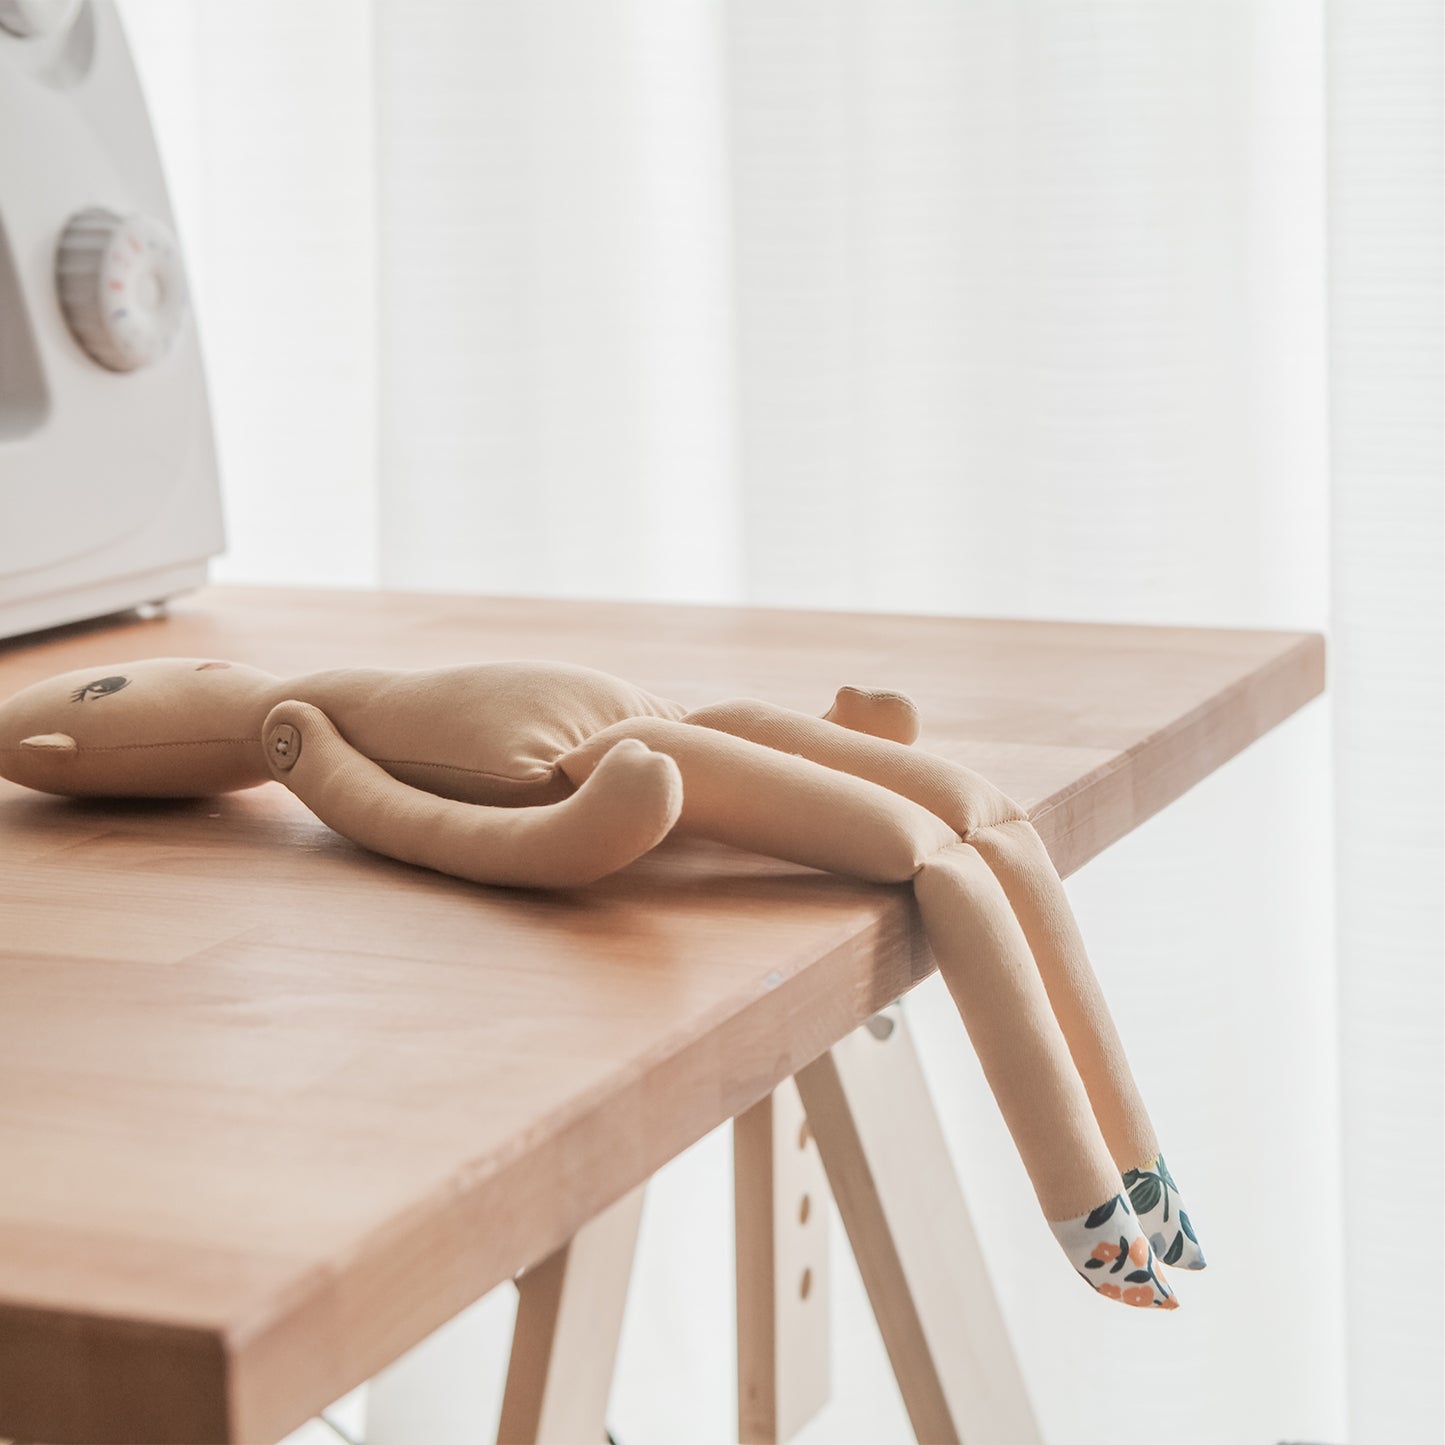
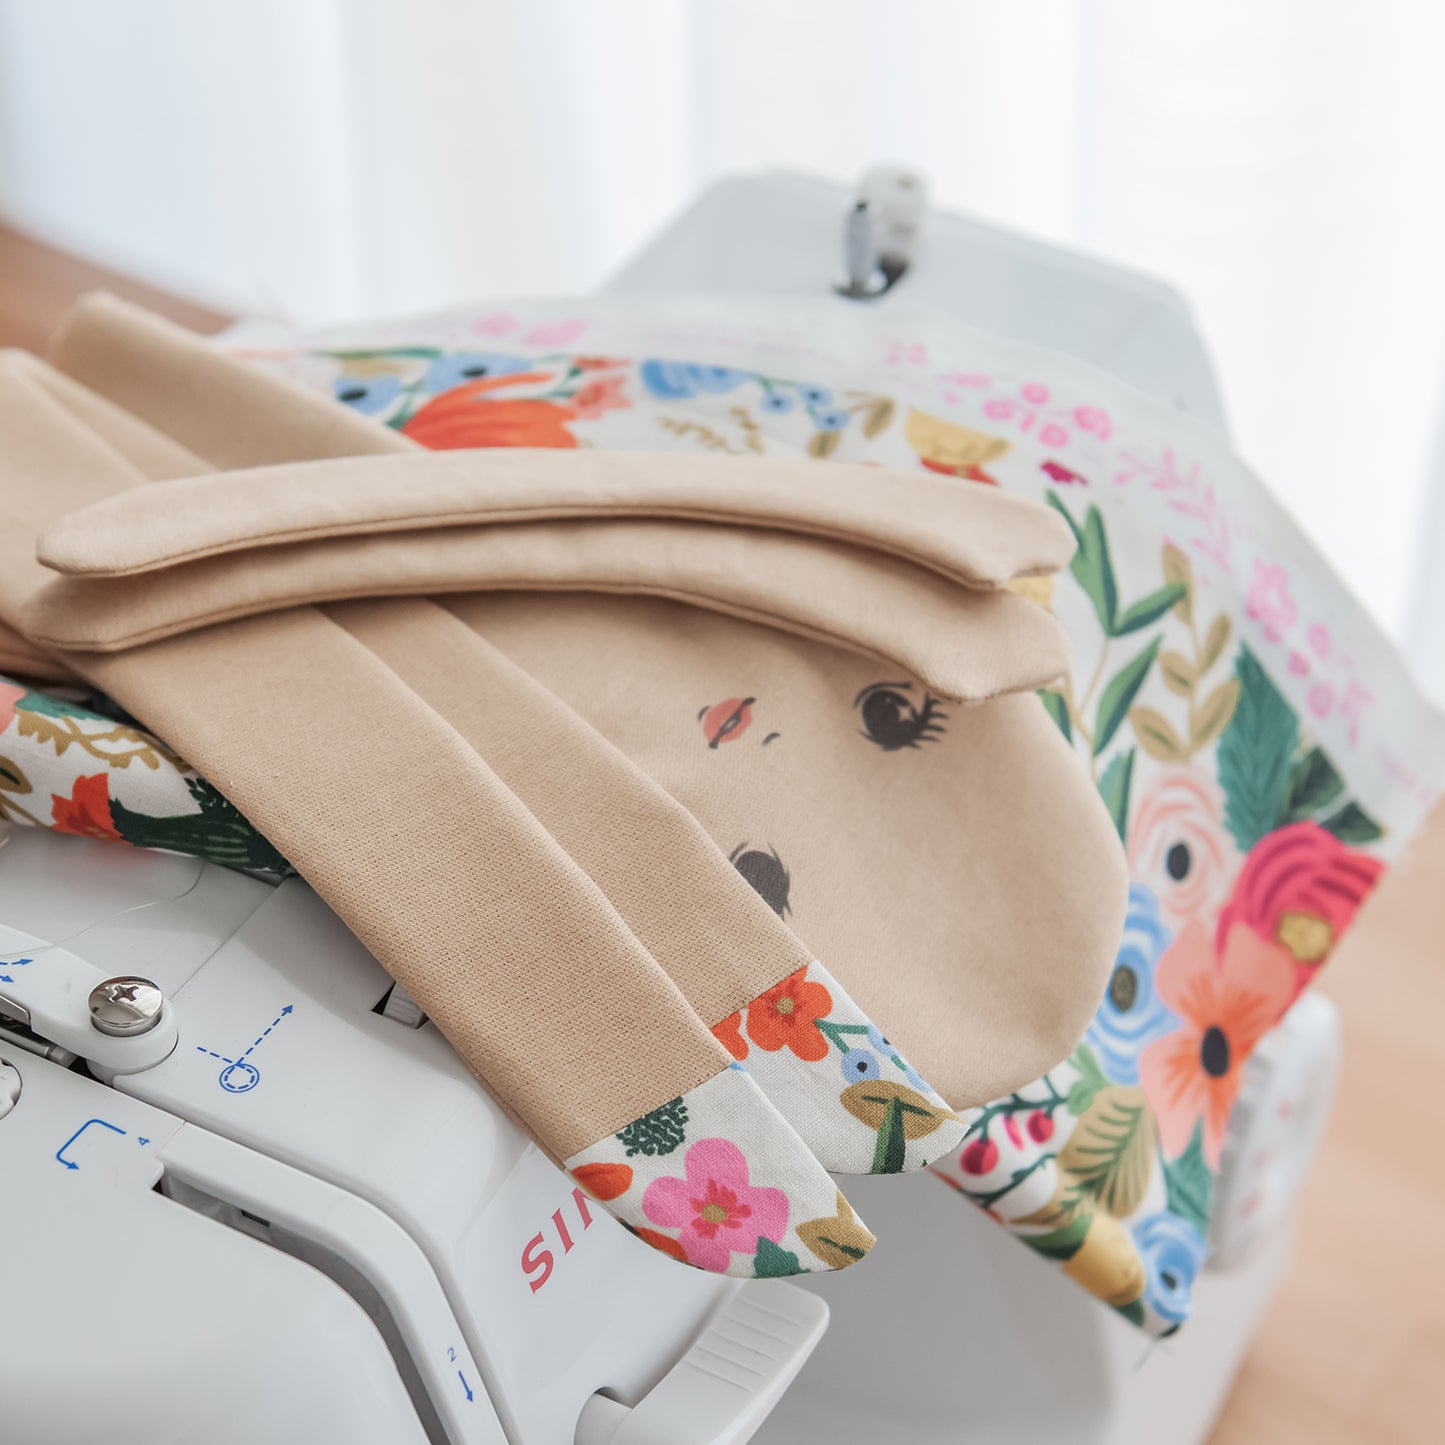
- sew all body parts
- joint legs and arms to the body
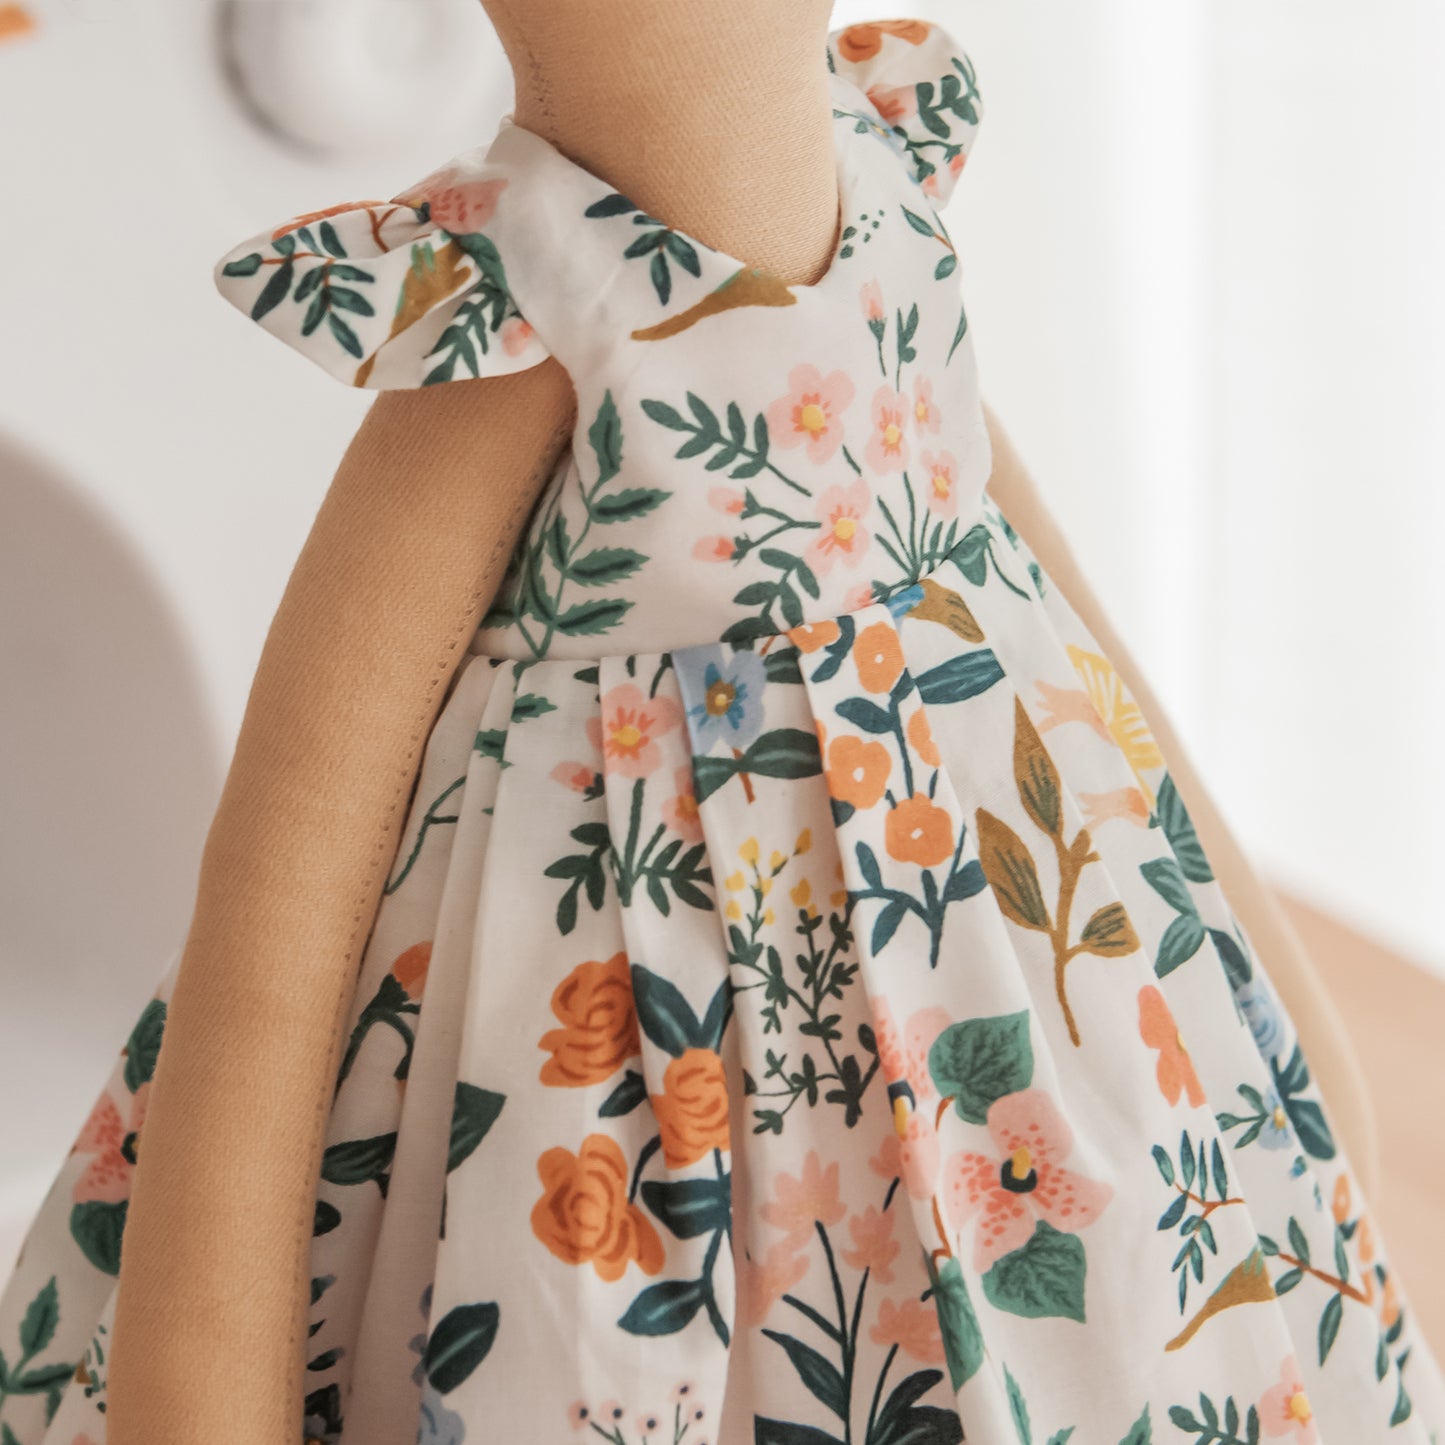
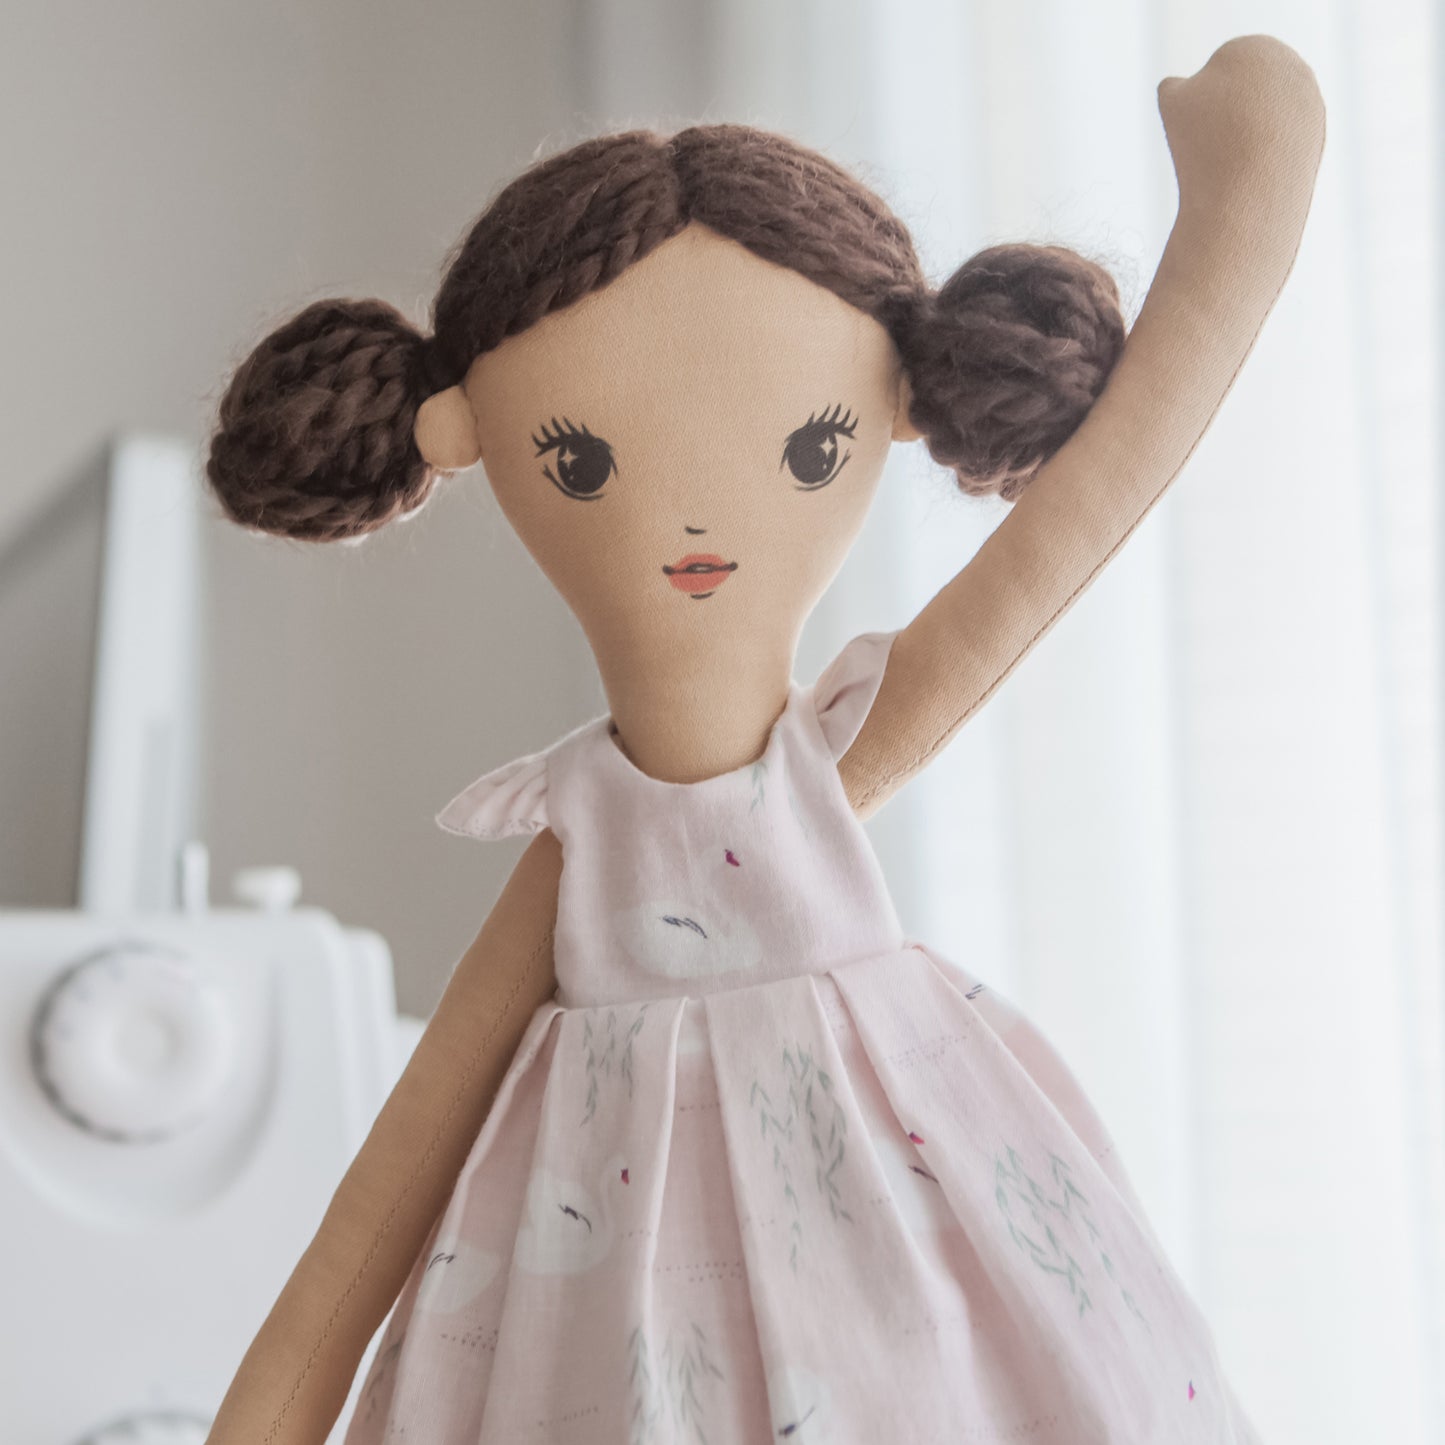
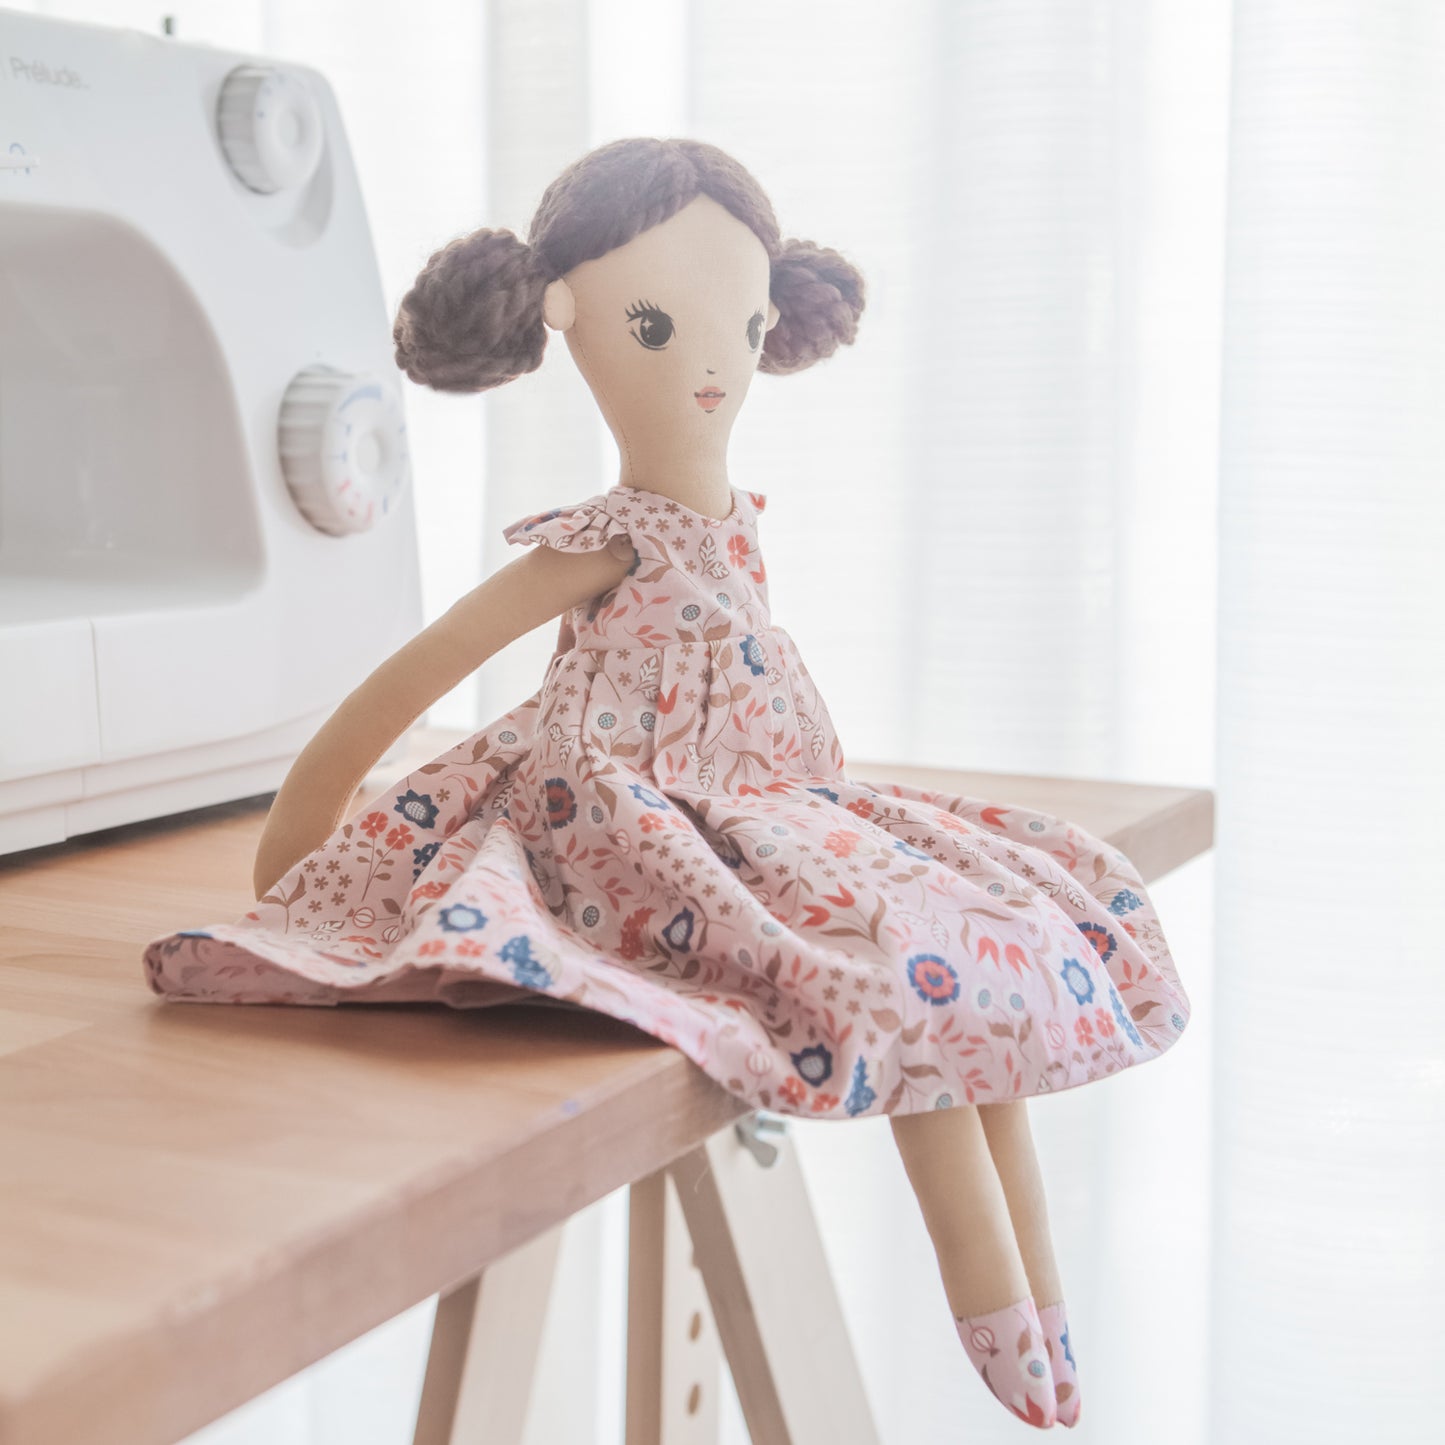
- sew a doll dress. I included two ways of sewing a Dress: the first one, with the lining - for skilled sewers, and the second way - without the lining. The last one is much easier, so it will suit the beginner’s skills. In addition, I show three options of how to make a Skirt Folds. It’s up to you to choose the one you prefer.
- make a hair wig for a doll
This PDF book includes 41 pages of doll making process with photos and explanations for each step.
There is also a doll face design that you can print and use for your doll.
Please use this link to watch the video tutorial “How To Print On Fabric”
For me, it's very important to share with you my knowledge and my sewing techniques. When I first started, just like some of you, I knew nothing about Sewing Doll Artistry. So I know exactly what you’ll need in order to achieve amazing results. This book has been divided into small steps that will guide you through the process and will highlight all the necessary details. Every step I've included has a picture and a description of each step. This is the most detailed guide that will help both beginners and seasoned doll makers.
Try to have fun during the process and turn it into an art. This guide isn’t made to be a cliché-standard of how a doll should look like. Don’t be afraid to experiment with shapes and dimensions, making your very own creation. I wish this guide to be a basic understanding of how to put together a cloth doll. I wish you the best of luck and I’m thankful that you’re starting to sew this doll together with me.
Share
Materials
Materials
• Cotton Fabric for the skin (Quarter)
• Cotton Fabric for the dress (quarter
for main and quarter for the lining
fabric). The Lining is optional
• Sewing threads corresponding your fabric colours
• Embroidery thread matches the skin color (could be knitting yarn)
• Fiber Fill to stuff the doll
• Two buttons to joint the arms
• Iron-on hook and loop tape
• Yarn for hair
• Freezer paper
Dimensions
Dimensions
The doll size is approximately 18” inches tall x 6” inches wide
Format
Format
Digital PDF file
Pattern Difficulty
Pattern Difficulty
Intermediate, some sewing experience is recommended
Pattern Language
Pattern Language
English
Policy
Policy
Please kindly respect my work and take advantage of this book for personal use only. Don’t
distribute to others.
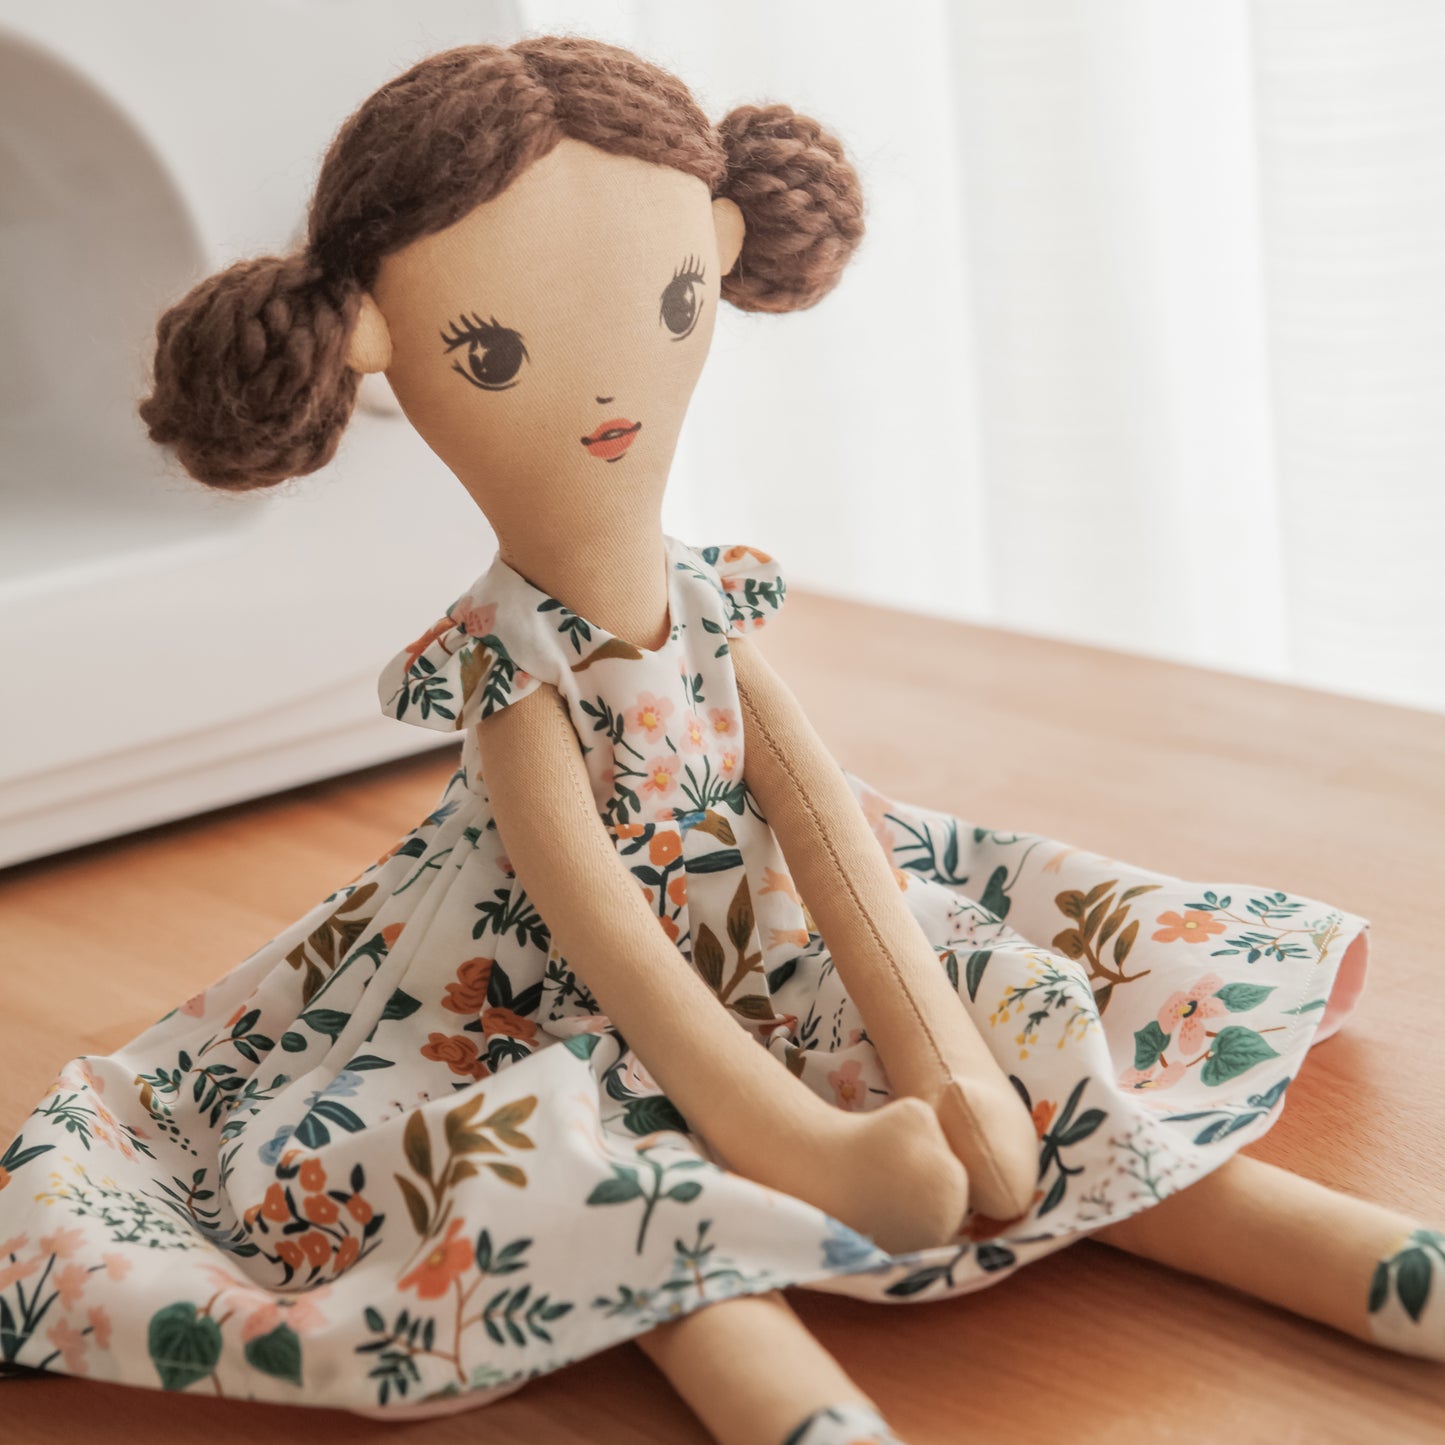
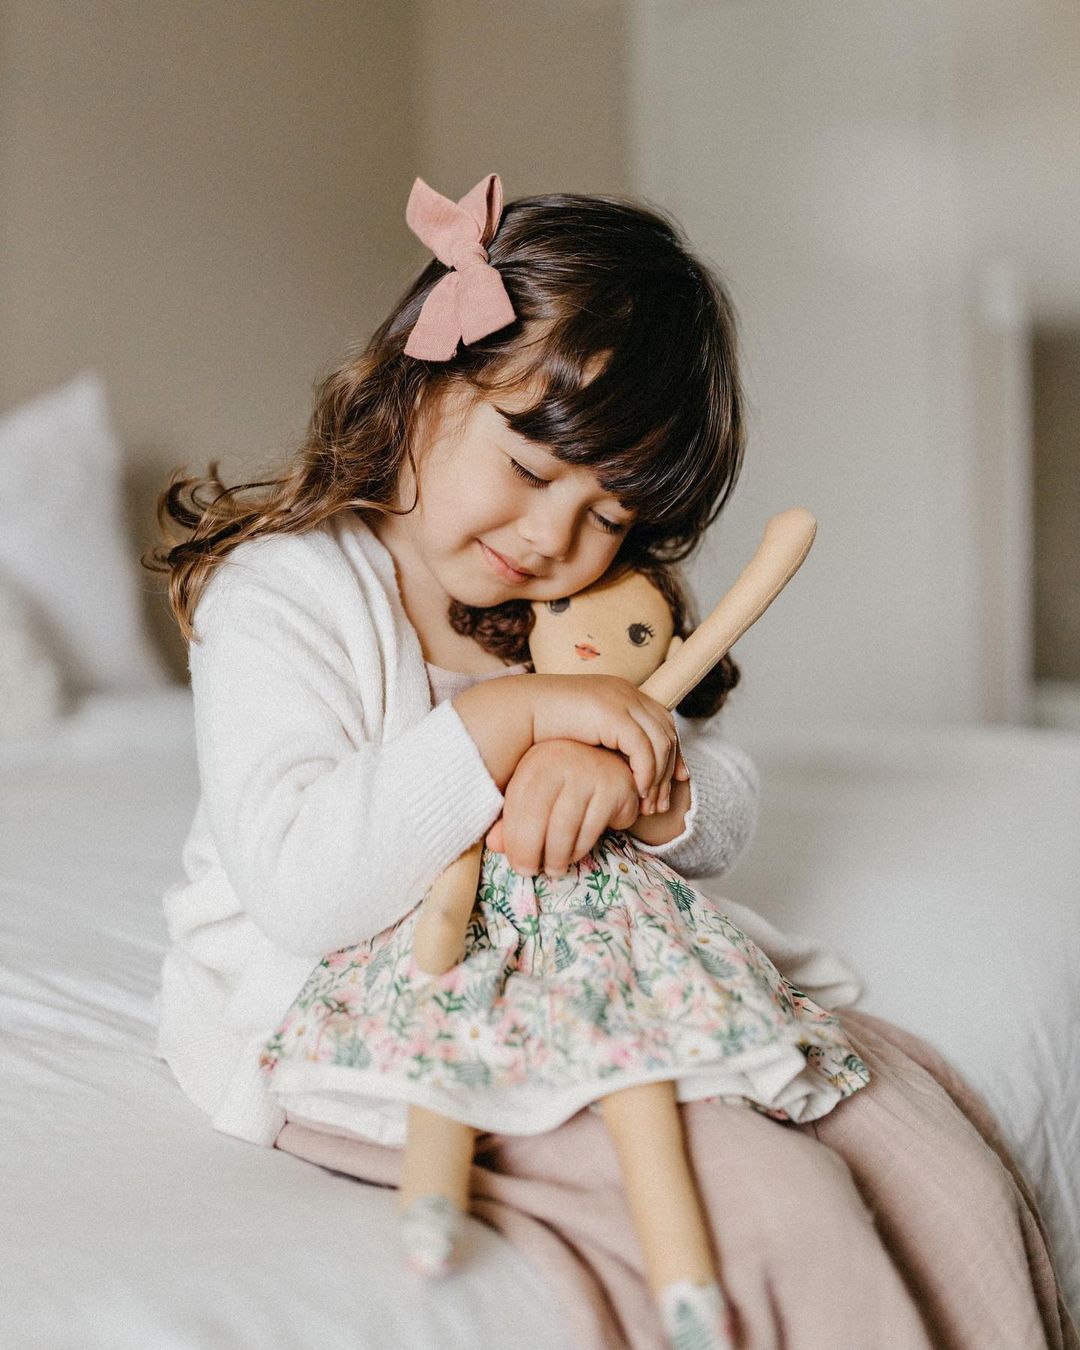
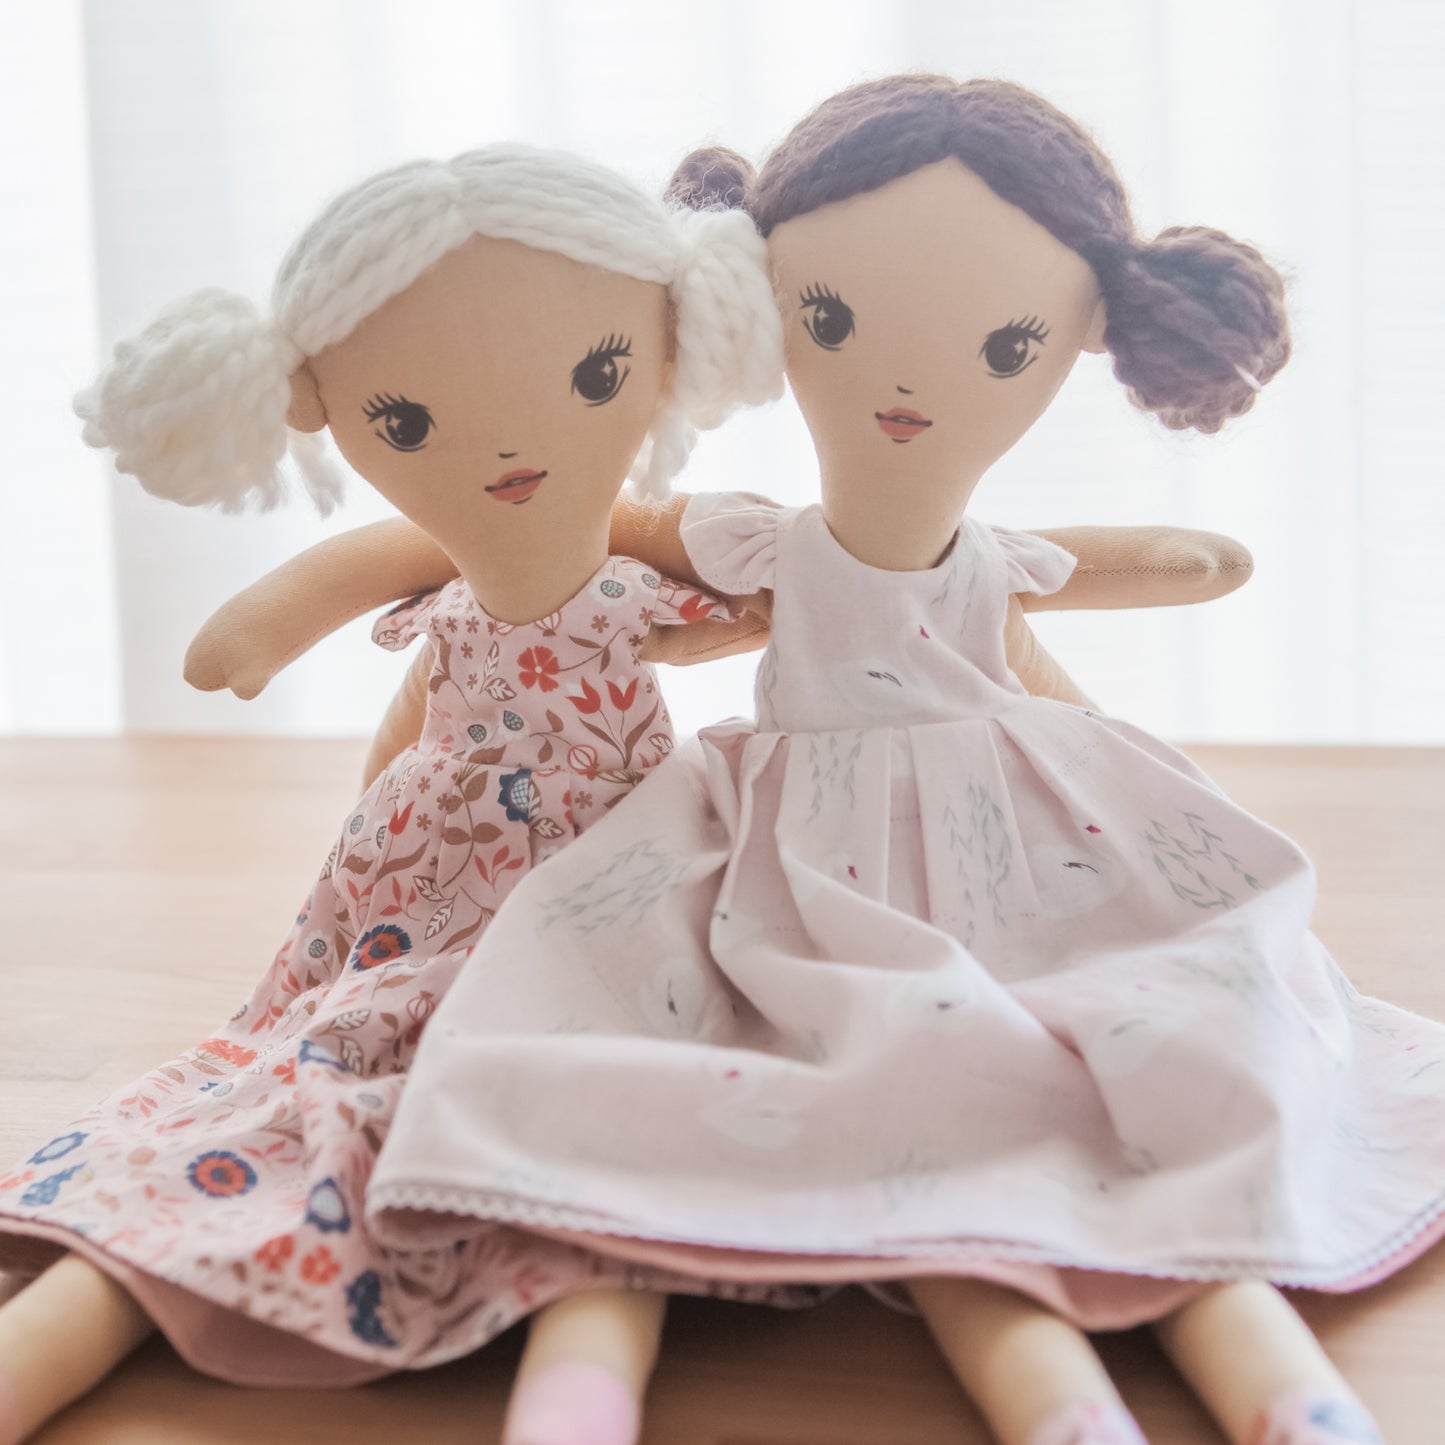
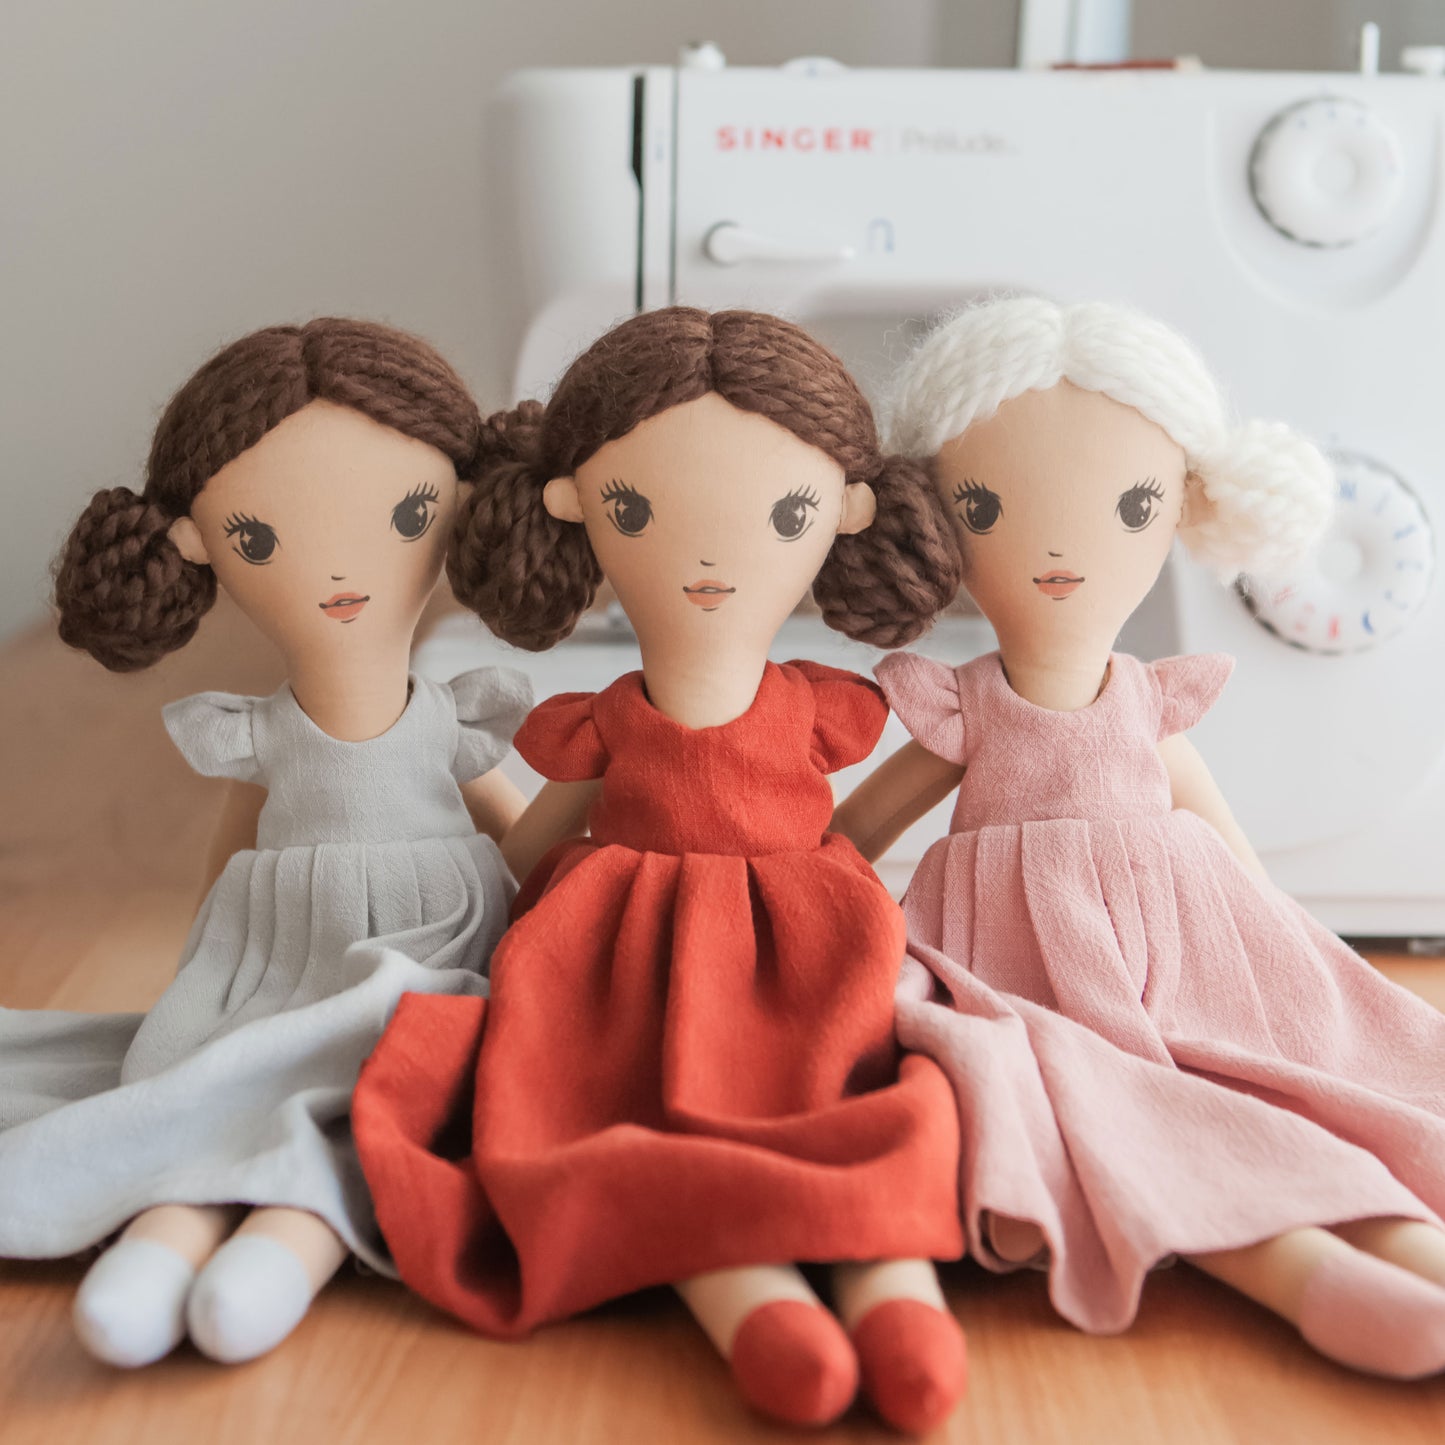
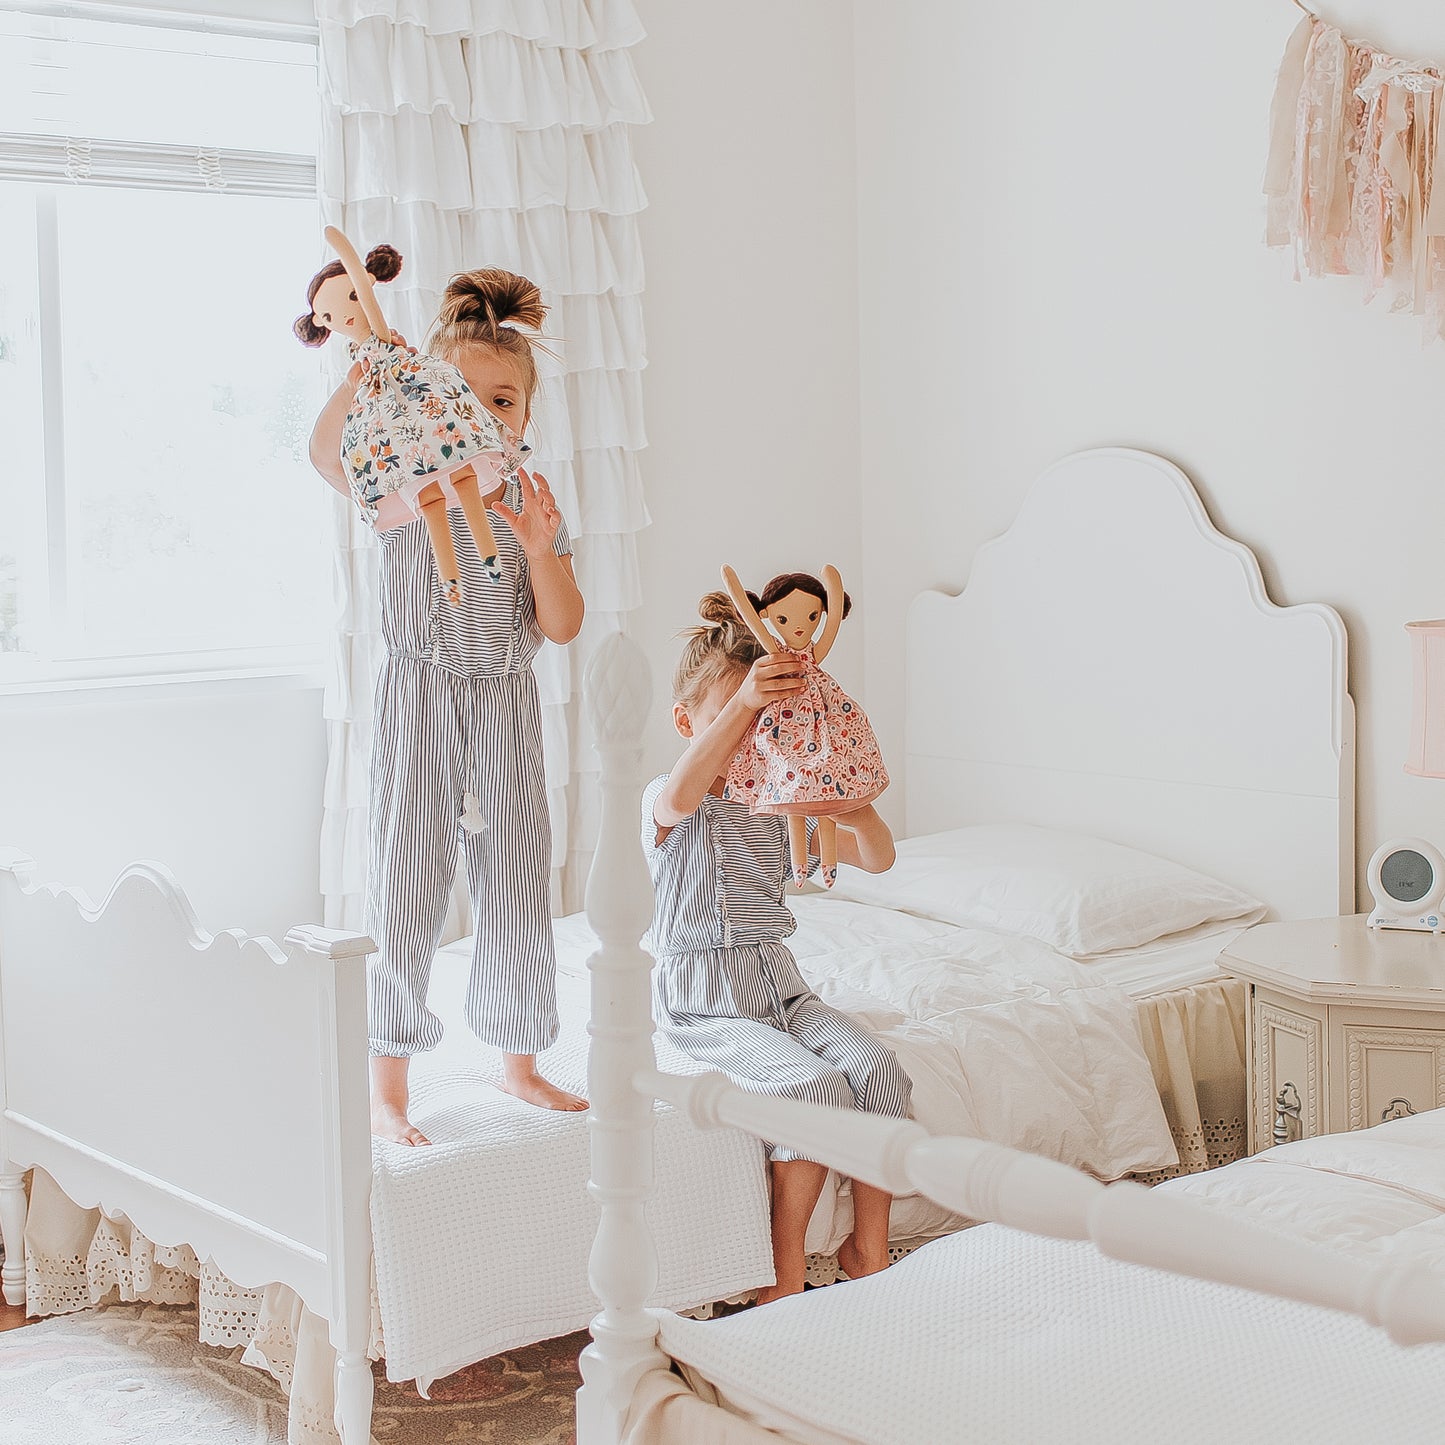
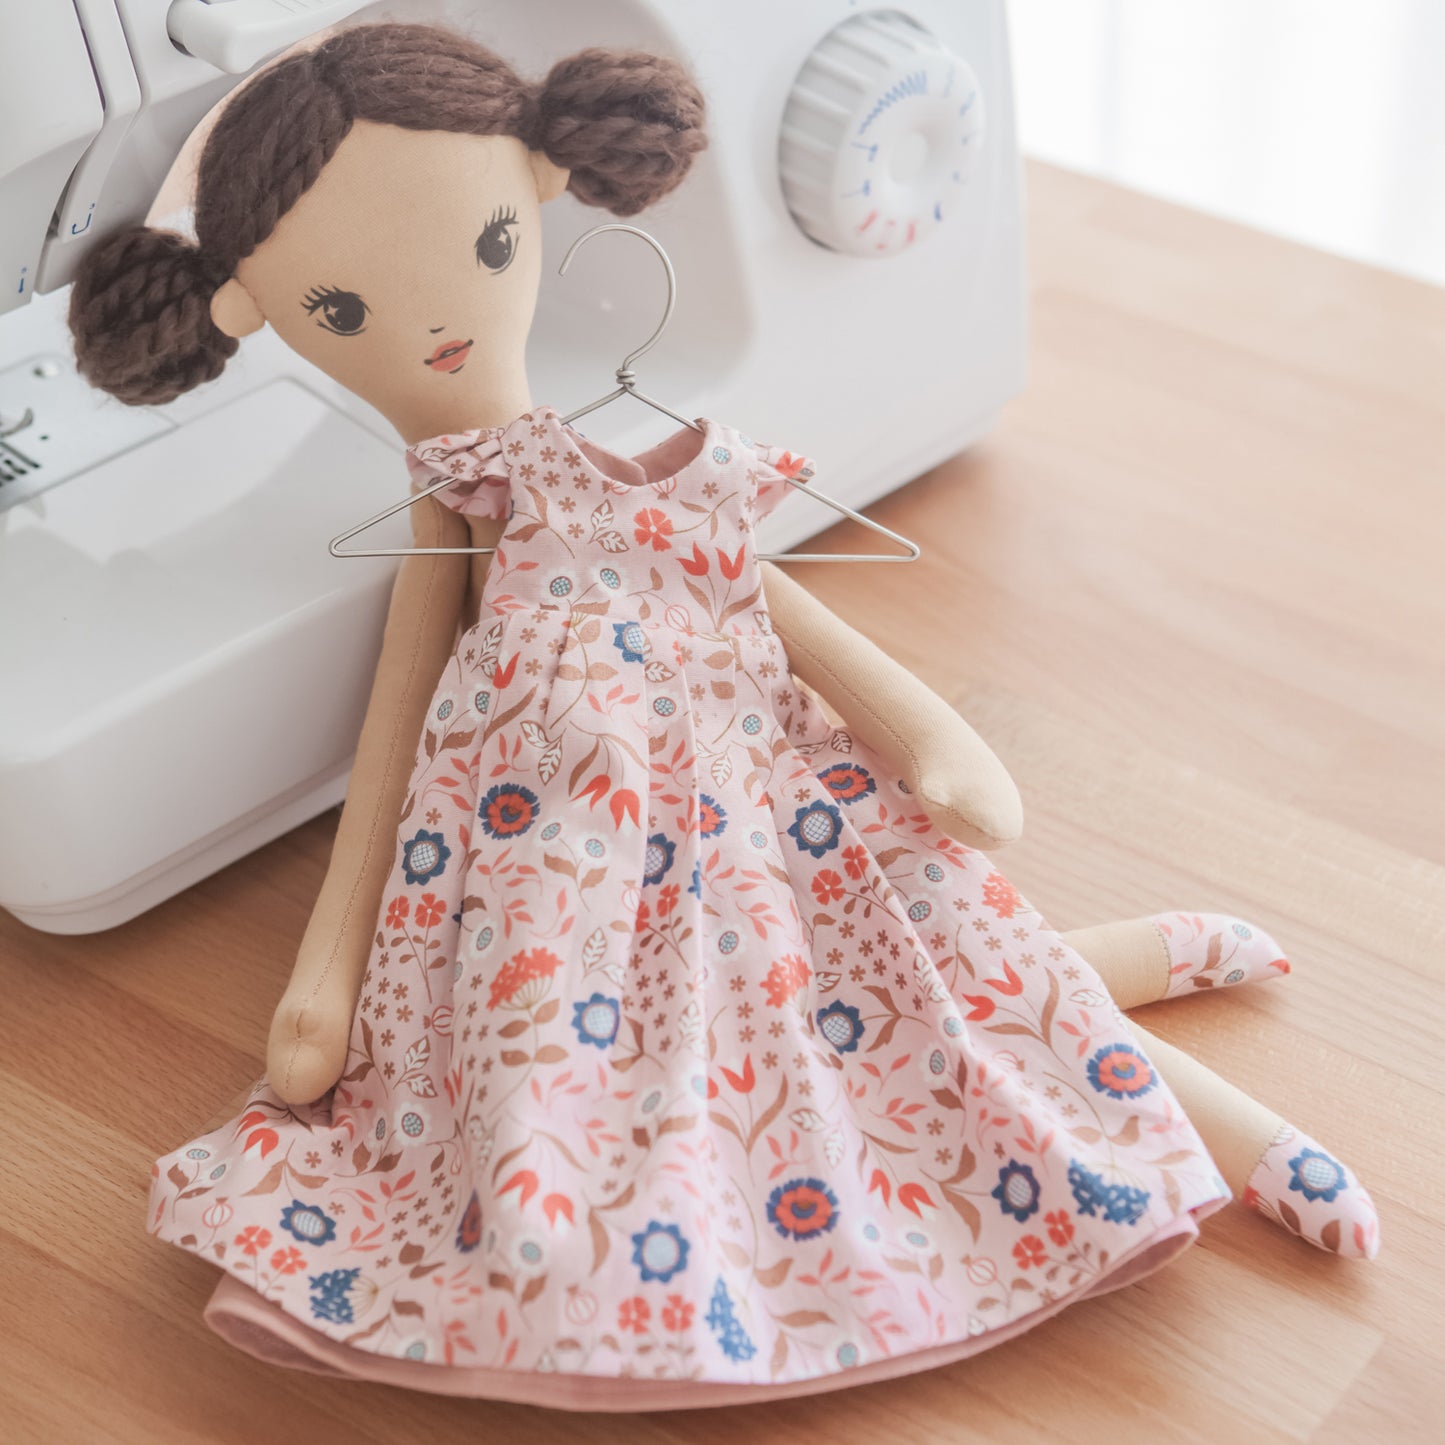
I had los of issues with the doll pattern and instructions. I have been sewing for fifty years and have sewn two wedding gowns. With all my experience I found the pattern difficult and the instructions unclear at times. Cutting pattern pieces out of paper and right on the stitching line is actually not normal for pattern-making. I have made dolls in the past and found this pattern unlike anything I experienced before. I had to change to my own process to proceed and tried many different ways to cut out the pattern on cardboard, for example, and other pieces with the proper seam allowance. There was no mention of the need for an ink jet printer in the initial description (which I don’t have), so had to draw the face on the fabric. The lining for the dress is impossible to follow and the pictures don’t help. Very disappointed because the picture of the doll is not how it ends up looking, especially the fit of the dress. It isn’t worth the cost of the PDF and instructions. Don’t attempt unless you are well skilled to alter the process as you go along.
Hi Marlene, thank you for your comment. My first doll was a classic tilda doll. This doll is designed by a brilliant doll maker, Tone Finnanger. She has a lot of books that show how dolls and toys are sewn. Cutting pattern pieces right on the stitching line, outlining them, stitching along the drawn line and cutting them out with a seam allowance is the way how classic tilda dolls are made and the technique that I use for sewing my toys. Thus there is no need to add the seam allowance to the initial pattern.
As for the printing on the fabric I provide a link to my YouTube tutorial “how to print on a fabric” in the description (below the listing). This tutorial shows you what you will need if you decide to print the face. So you can get the idea before purchasing the pattern. Please feel free to look through the video that will help you along the way.
I’m always open to help, provide more detailed pictures to my customers if the process is difficult and unclear for them. You can contact me directly via the website or instagram if something is unclear to you along the process.
All the best!
Polina
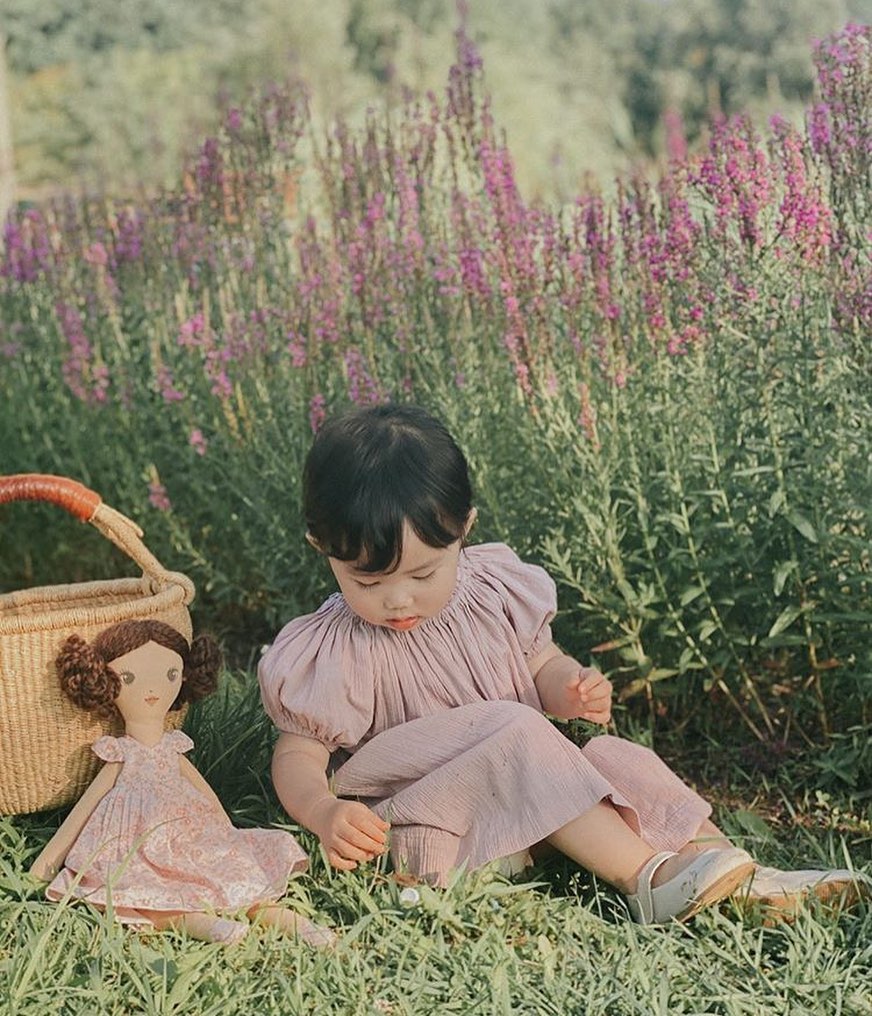
Your page has inspired me since I came across it. it made you experience the indescribable feelings of producing something and making a child happy with the object you produced. I would like to share with you the dolls I sewed for my nephews. Thank you so much for making me the joy of life
If you ever want to try making a doll I highly recommend this pattern. Every detail was thought out. I may have to make another! Highly recommend
Absolutely love this doll, pattern very good, clear and easy instructions! I’ve only been sewing for 3 months, I can do this anyone can! 😊
Looks superb s detailed and easy to follow. I haven’t yet had a chance to make but very pleased. Highly recommend


